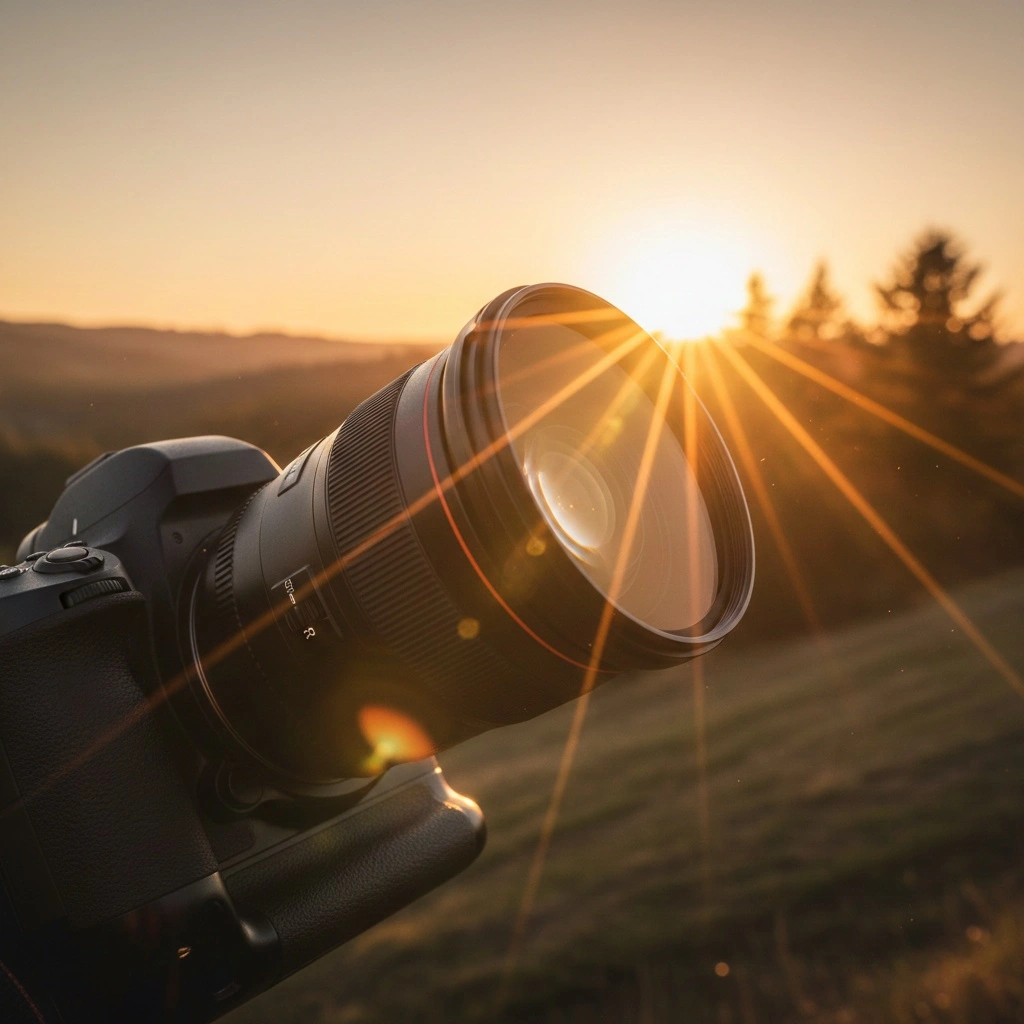
Have you ever taken a picture where the sun illuminated a corner of the frame and made the light look magical? Such an instance is the prettiness of lens flare, and now, with the help of Photeeq lens flare tools, this effect can be availed whenever you want and wherever your creativity comes. By using lens flare, you are taking the handling of the light in your portraits and landscapes to the next level thus unlocking one more dimension in your photographic endeavor.
Lens flare has come to be the most wanted effect in today’s photography while once it was a mere technical flaw. The Photeeq way of dealing with lens flare grants you full control over the light, thus transforming the random light effects involved in the process into the artists’ choices that are to be featured in the final work. Consequently, your pictures will no longer be ordinary but will become phenomenal.
What Makes Photeeq Lens Flare Different
When your camera lens captures a vibrant light source from specific angles, the light gets reflected back and forth between the glass parts of the lens, resulting in what is known as lens flare, which are the scattered light patterns. The different kinds of halos, streaks, rainbow circles, or the soft hazy glow are some of the effects that this optical phenomenon creates on your images. The normal lens flare takes place naturally during the shot, however, the term Photeeq lens flare applies to both the incident and the digital tools that allow you to recreate or enhance these effects during the post-processing stage.
The Photeeq magic actually lies in providing the photographers complete control over what was entirely unpredictable before. You’re able to manipulate intensity, alter colors, relocate the flare source, and also adjust every aspect to your creative vision. This adaptability means that you do not rely on the perfect lighting conditions or weather anymore, rather you can insert that dreamy sunset glow into an image taken on a cloudy afternoon.
An optical authenticity is what makes Photeeq different from the generic overlay effects. The software replicates the way real light behaves with different lenses, going through all the variations from antique manual lenses to modern anamorphic cinema glass. The result is the production of flares that seem completely natural in the scene rather than apparent that they have been added on top.
Understanding the Types of Lens Flare
Various types of lens flare exhibit different appearances and knowing the distinct ones will lead you to the creative decisions that are intentional. Veiling flare gives an aesthetically pleasing, soft, and hazy environment to the picture reducing contrast throughout the entire image. This will be particularly seen in the cases when one is shooting in the direction of the sun; the picture will acquire a dreamy and faded look which will be great for romantic portraits or nostalgic scenes.
Ghosting flare is responsible for the creation of well-defined geometric shapes like circles, hexagons, or polygons that can be found all over your picture. They appear to be very colorful artifacts that draw a line from the light source and their configuration is determined by the aperture blades. Street photographers and urban shooters have grown very fond of these for they add visual interest to the cityscapes during nighttime.
In the case of sensor flare, it is represented by bright spots or dots which are most common with digital cameras when light bounces between the sensor and the rear lens element. Mirrorless cameras with shorter flange distances are more susceptible to this type. Although it is often unintended, sensor flare can be used by creative photographers to give an authentic, gritty feel to their work.
Creative Applications That Transform Your Photography
Landscape photographers mainly apply Photeeq lens flare to create a more dramatic effect in their sunrise and sunset shots. A strategically placed flare from the sun can not only attract the viewer’s attention to the central subject but it can also give the scene a warmer and deeper look. The main thing is the positioning of the flare so that it feels like a natural part of the existing light in your scene.
Portrait photographers have found out that the use of subtle lens flare creates an otherworldly, romantic quality which is ideal for engagement and lifestyle photography. When the light appears to be encircling the subject, it not only gives the subject more volume but also pulls the viewer’s attention to the subject’s features. The skill is in keeping the flare so gentle that it assists rather than overshadows the subject’s presence.
Product and commercial photographers resort to lens flare as a means to give a high-end look and vibrancy to the shots. A well-planned flare can make the product look more active and attractive to the eyes thus implying that it is of high quality and is desirable. Fashion photographers in particular enjoy the use of colored flares that go along with their styling choices.
Getting Started with Photeeq in Your Workflow
Photographers commonly use Photeeq lens flare through plugins that are compatible with Adobe Photoshop and Lightroom. The whole installation is very easy – just download the plugin, put it in the plugins folder of the editing software and then restart the software. After that, you will find the Photeeq in the filters or extensions menu and it will be there to change your images.
When you pick pictures to enhance with lens flare, pick those with light sources like the sun, streetlights, or mirrors. These points of light will naturally make your flare look more real and believable. Images that have strong lighting from a specific direction are ideal since the flare can easily follow the light’s path through the frame.
The very first thing to do is make a copy of your background layer – this non-destructive technique allows you to later modify or completely remove the effect. When you get Photeeq from the filters menu, a window will pop up showing the different flare presets. Take a look at the range of options from the very soft sunlight through to the very bold anamorphic streaks and pick one that fits the mood and lighting of your image.
Fine-Tuning for Professional Results
When you add Photeeq lens flare, the placement is the key factor. The origin point of the flare should be clicked and dragged to the place where the light source of your image is. The effect has to be like the light’s natural consequence, not something that is randomly dropped into the frame. Even the tiniest changes in positioning can immensely affect the authenticity of the flare.
The intensity should be adjusted very carefully – this is where most of the beginners go wrong by making the effect too blatant. A professional-grade lens flare usually works at lower intensities than you might think. Try 30-40% opacity to begin with, and then keep on increasing till you reach the sweet spot where the flare is not overpowering but rather enhances the image.
Believability depends a lot on color temperature. The flare colors should then be matched with the light that is already in the scene. Golden hour photographs get the orange and yellow flares really well, while urban landscapes at night frequently need the cooler blue lighting or the mixed color temperatures of street lighting. Photeeq allows you to change the hue and saturation to achieve the exact color harmony needed.
Common Mistakes to Avoid
The major mistake is using the effect too much. When the lens flare is the main element in your image instead of being the supporting element of your composition, you have gone over the limit. The best flare work is often very discreet at the beginning, but it greatly changes the image’s mood and atmosphere. Most situations indeed prefer less than more.
Misaligned flares are a sure way to spoil the veil of authenticity. If your flare looks as if it is coming from a spot where the sun is not shining, the viewers will unwittingly get an idea that something is wrong. Make it a rule to align your flare source with actual or implied light sources in your composition.
Using different flare effects in a photo series leads to a very unpleasant visual surprise. If you are processing several images from the same shoot and thus creating a coherent portfolio, it is important to keep the same flare intensity and style. This consistency does not only help to create your unique visual signature but also makes your work look more professionally polished.
Advanced Techniques for Creative Control
Blending modes for layers are the keys to new creative avenues with the Photeeq lens flare. The Screen mode produces soft and bright flares that are very appropriate for dreamy aesthetics. On the other hand, Overlay mode goes for more saturated and vigorous results. Blend modes at different opacities introduce you to the effects that suit your creativity.
With the use of multiple flare layers, you can create the most complex and realistic lighting scenarios. It’s a common thing in the photography world that more than one light source is used, and hence adding a few subtle flares at different intensities will simulate this natural complexity. Just make sure that a light source is behind each flare logically.
Masking is a technique that offers you the precision of a surgeon in controlling the flare’s visibility. Create layer masks and use them to hide the flare behind the objects in the foreground or let it sneak through the gaps in the leaves. By doing this, you’re taking the spatial relationships into close consideration which makes the effect feel truly part of your three-dimensional scene thus, not flat and superficial.
Key Takeaways for Your Photography
Photeeq lens flare lets you take charge of one of the most beautiful optical effects in photography. Knowing different flare types and their creative uses allows you to make intentional decisions that will improve your storytelling instead of depending on lucky accidents. The distinction between amateur and professional usage lies in the subtlety, proper alignment, and keeping optical authenticity.
Start with the images you already have in your library, and it is better to choose the ones with heavy light sources. Practice moving flares, changing intensity, and mixing colors until the effects look realistic. As your perception of realistic-looking lens flare gets better, you will see how this technique can be a unique part of your photography style.
Keep in mind that Photeeq lens flare is a great tool but only when applied to already good compositions. No amount of lens flare can save a photograph that is poorly composed, badly lit or something in between. Use these tools to boost the emotional impact of pictures that are already based on good fundamentals, and you will produce artwork that connects deeply with the viewers.
Frequently Asked Questions
What is Photeeq lens flare and how does it work?
Photeeq lens flare is also a natural optical phenomenon and a range of digital tools for the creation of very realistic light scattering effects in photographs at the same time. The natural version takes place when strong light enters the camera lens and reflects between the internal glass elements, resulting in streaks, halos, or hazy glows. The Photeeq plugin emulates this effect on a digital level using sophisticated algorithms that imitate the actual optical physics, hence, giving you total control over post-production editing regarding intensity, color, position, and style.
Can I use Photeeq lens flare with any photo editing software?
Lens flare by Photeeq is mainly a plugin operating with Adobe Photoshop and Lightroom, both of which are the foremost platforms for professional editing. Besides, the plugin can be used with some other editing tools such as Photopea, which is a browser-based editing software. The installation process is simple; first, you download the plugin files and then you move them to the respective plugins folder of your software. Once you restart the editing application, Photeeq will be present in the filters or extensions menu and be ready for use.
How do I make lens flare look natural instead of fake?
Three main principles are the secret to the realistic lens flare look. First of all, the flare should always be put in line with a visible or invisible light source in the photo – random placement is never allowed. Secondly, use lower intensity settings, about 30-40% opacity, to start off and then slowly increasing it to the point where you are satisfied with the balance. Thirdly, set the color temperature of the flare to be the same as that of the scene lighting – warm golden hues for dawn scenes, cooler blues for night pictures. These methods make sure that your flare looks as if it was part of the scene rather than being obviously put there.
Should I avoid lens flare for certain types of photography?
At the same time, while the lens flare has gained wide acceptance as a creative tool, it has been avoided in certain genres of photography. Documentary or journalistic photography will almost always keep the flare to a minimum in order to preserve objectivity and get the best possible clarity. Tech-spec product photography, architectural photography demanding razor-sharp clarity, and professional portraiture for corporate headshots usually do not benefit from lens flare being so noticeable. On the other hand, commercial product photography, lifestyle portraiture, and creative editorial work frequently opt for lens flare because of its emotional and aesthetic impact.
What’s the difference between veiling flare and ghosting flare?
Veiling flare is an optical phenomenon that results in a general hazy and subdued look of the image, thus in a way lowering the contrast and treating the picture with a dreamy and soft effect at the same time. It occurs when the external light strikes the front lens element and the scattering happens throughout the system. Ghosting flare, on the other hand, leads to the production of visible ghosts that are distinct in nature and take the form of colored circles, hexagons, or polygons scattered specifically across the frame. The geometric figures appear as a sequence following the vector from the light source to the lens.
How can I create lens flare effects without the Photeeq plugin?
Even though Photeeq gives you excellent control, still there exist several alternative methods through which you can create lens flare effects. You can find a lens flare filter in Photoshop, which has less control over the customizations, under Filter > Render > Lens Flare. One can even take natural lens flare in-camera if the photographer positions himself such that strong light hits the lens at an angle, which is especially true during golden hour. Other plugins such as Nik Collection’s Analog Efex Pro or Video Copilot’s Optical Flares offer similar capabilities. Budget photographers can also access basic lens flare filters via free graphic editing software like GIMP.
Does lens flare damage camera sensors or lenses?
As a rule, shooting directly into bright lights to get the effect of natural lens flare doesn’t hurt modern camera gear. Nonetheless, if you keep your camera under the hot sun for a long time, especially while using high zooms, then the sensor could get damaged in the long run. While taking pictures of the sun, it is best to use the live view feature instead of the optical viewfinder to shield your eyes, be quick, and do not let your camera stay aimed at the sun for too long. The few seconds it takes to get a shot creates very little risk for your equipment.